¶ Creative Feed Generator
This article explains how to use the Creative Feed Generator (CFG) to create Facebook catalog creatives in bulk. You'll learn how to set up CFG, request templates, schedule feed generation, and more.
The Create Feed Generator (CFG) is a powerful feature that enables you to generate ad creatives in large quantities using customizable templates. With CFG, you can efficiently generate personalized creatives tailored to your product data. Its objective is to deliver high-quality creative outputs swiftly and in bulk, effectively fulfilling your campaign requirements.
CFG is an efficient tool for creating Facebook catalog ads, especially when clients need to ensure that their product inventory data is accurately reflected in ads. It allows for the quick creation of new ad variations with updated elements such as pricing, text, images, and CTAs, all based on product data, removing the need for constant designer involvement in making these changes.
Further, you can easily automate the creative generation process by scheduling when to generate these creatives. This makes CFG a powerful feature that can automate feed generation based on your ever-changing product inventory.

¶ Before we begin
-
You should have a catalog datasheet and template to start using CFG. To learn more, we recommend you first read pre-requisite for Creative Feed Generator.
-
You can raise a JIRA ticket to create a CFG Project with the help of Pixis Support team.
Note: Only the Execution team can edit the campaign details and publish changes on to the ad platform. Therefore, from creating a new campaign to implementing recommendations or publishing the output creatives, you have to contact the Execution Team.
¶ The CFG Workflow
The workflow for creating CFG is quite simple. Once you have all the required data, follow the steps below to create your project.
¶ Steps to Create a New Project
Start by giving your project a name and adding your feed data file to begin. Afterwards, proceed to configure the following:
-
Configure Input File: Rename your columns for better readability.
-
Choose Template: Select a template that suits your ad design.
-
Configure Selected Template: Match your data columns to specific layers within the template.
-
Review your Selection: Ensure everything is configured correctly.
-
Schedule Runs and Configure Outputs: Set up automatic feed generation (if desired) and choose output settings.
-
Project Manager: Monitor and manage your project from the dashboard.
¶ How to Navigate to CFG?
To access the Creative Feed Generator (CFG), navigate to the "Pixis+" side panel and click on "Feed Generator." This action will redirect you to the Feed Generator page. From there, you can click on the "Let's Go" button to create a new project. If there are any existing projects, you can access them by selecting the "View Existing Projects" option. Please note that this option will only be visible after you have created a project.

¶ Steps to Create a New Project
To start a brand new project, add the following details:
-
Project Name: Choose a clear and meaningful name for your project to make it easy to identify and manage as you scale.
-
Input File: Add your data sheet link or upload the file. Ensure that the feed data includes information such as product names, descriptions, images, unique product identifiers, etc. Additionally, highlight the column names containing data you want to dynamically incorporate into the creative template. This ensures accurate and personalized ad creatives based on your product data.
-
Enter URL: You can enter spreadsheet URL of XML, CSV, Google Sheets.
-
Upload Files: You can upload files with following formats XML and CSV.
-
Once you have added the above details, you can click on “Get Started” to begin configuring the templates.
Note: Before adding the input file, please ensure that you share it with the email address creative-generator-feed-sa@pixisperformance-production.iam.gserviceaccount.com and grant edit access. This step is necessary for the platform to edit your output file and provide recommendations.
Note: If you choose to upload a file, you won't be able to schedule automatic feed generation. Whenever you generate new variations, you'll need to update the data by uploading a new file. Alternatively, you can share a public URL and keep the spreadsheet up-to-date. This will ensure that new catalog ad creatives are automatically generated at their scheduled time.

¶ Input File Example
You can review the provided demo input file below to better understand the file format and columns you need to include.
¶ Step 1: Configure the Input File
After creating the project, you land on the configure input file step. Here, you can change the original column names in your spreadsheet to more descriptive titles. This ensures you'll quickly recognise which data corresponds to which ad element during the template customisation process.
For example, if your original spreadsheet has a column titled "item_desc," you might update it to "Product_Description" for immediate clarity.
You can change the columns for the following:
-
Text Columns: Select the column headers from the input sheet you want to rename.
-
Image Columns: Select the column headers containing images. These contain the public URLs of the images you want to include in your ads. Ensure these URLs point directly to your image files.

You can find details about your input sheet, including the file name, sheet columns, and file format, as shown in the image.

After renaming your columns, simply click on "Choose Templates" to proceed to the next step.
¶ Step 2: Choose Desired Template
Here, you can select the templates created and added by the Pixis support team. You can also request a new one; it may take 48 to 72 hours for new templates to be added to your account.
¶ The Template design
The template will serve as a base for integrating your product catalog information, such as titles, images, prices, and CTAs. These details will be added as layers to the template, maintaining the integrity of your brand while showcasing your products effectively. Using Templates, allows you to efficiently generate catalog creatives for all your products at scale, as shown in the below image.

Note: You can only edit the text and image layers in the template that are predefined by the support team as requeseted. If there's a specific element in the creative that you need to change but cannot, feel free to reach out to the support team for assistance.
¶ Request New Template
You can request a custom template based on your specific ad requirements. Simply provide reference images and details of what you want to customise in the templates, and we'll create a tailor-made template that aligns seamlessly with your brand.
-
Enter URL or Upload file: You can provide us links to reference images. When you upload these images, their file format should be in Photoshop or Blender.
-
Template Name: Give a friendly name to your template.
-
Customizable Elements: Let us know the elements of the template you want to customize.
-
More Information (If Any): Provide additional information around the template file if needed.
Note: You can also contact the Pixis support team directly to share your requirements for creating new templates.

¶ Filter Templates
You can filter templates based on the following criteria:
-
Template Name
-
Aspect ration
-
Template origin
-
Image Layers
-
Text Layers

¶ Edit Template
You can edit the basic details of the template, like its name and view template details.
Template Layers:
This shows which elements present on the creative you can customize. For example, you can customize the text, name, price, image, etc., as shown in the image below.

After selecting the desired templates, click on "Configure Templates" to map your input data to template layers.
¶ Step 3: Configure Selected Templates
You can customize the templates in case you need to make changes to them. Each template consists of layers that are pre-defined, and these layers dynamically update when you map the columns from your input file to them. For example, if your input file contains data for 1000 products, you can create 1000 variations of the template, each with specific information for individual products that you've mapped. This process involves carefully mapping each layer of your template, including the call-to-action (CTA), heading, price, primary image, background image, and more. By doing this, you can ensure that your ad creatives are customized precisely to your product data.
You have to map the following layers:
-
Map Columns to Text Layers: These column headers contain the text you want to display in the creative, such as headings, descriptions, or calls to action. In addition to the columns available in the output file, the dropdown menu for mapping columns to text layers will provide the following options:
-
Use Template Text Layer: You can choose to use the default text layer in the generated image.
-
Hide this Layer: If you decide to hide this layer in the image. The generated image won't include this element.
-
Note: Ensure that the text input adheres to the recommended minimum and maximum character lengths defined in the template. For instance, if the headline character limit ranges from 7 to 11 characters and the image aspect ratio is 1:1, exceeding the character limit for the headline could cause the text to overflow out of the image. To make sure text does not overflow on your image, you can enable “Eliminate junk ouputs”.

-
Map Columns to Image Layers: These column headers contain the images you want to display, including background images, primary images, or logos. In addition to the columns available in the output file, the dropdown menu for mapping columns to Image layers will provide the following options:
-
Use Template Text Layer: You can choose to use the default text layer in the generated image.
-

¶ Preview
The preview shows the first cell values of input file columns. It helps you correctly map columns to the text layers.

¶ Eliminating Junk Values
During the customisation process, it is important to eliminate any junk values that may be present in the sheet. Junk values refer to outputs that deviate significantly from the defined guidelines, such as text lengths that are either too short or too long. By removing these junk values, you can maintain the quality and consistency of your generated outputs. For more information, please refer to the Input File, which provides guidelines for text length and image proportions.

¶ Formatting Text Layers
You can format the text layers to enhance its visual presentation. You have the flexibility to add prefixes or suffixes to the text, choose alternative columns for customization, and apply text formatting or number formatting as needed.
For instance, if you have a column containing product prices in your input file, you can format it to include a currency prefix like "$" or a suffix like "USD". Additionally, you can choose to format the numbers to display with two decimal places for cents or round them to the nearest whole number.

¶ Customizing Image Layers
You can decide which sections of the template you wish to customize for the image layers. To customize these sections, you should have corresponding alternative columns in your input file for the specific images. If you haven't added any columns for the logo or background image, you can simply use the default template images provided.

¶ Generate Preview
Once you've configured the template to meet your needs, you can preview a sample output with your applied settings. To view the sample output, simply click on "Generate Preview."

Once you're satisfied with the configuration you've made for the template, you can click on "Review Setup".
¶ Step 4: Review your selection
Before generating the creatives, it's crucial to review the entire customized template. Take a moment to thoroughly examine all the changes you have made to ensure they accurately reflect your desired creative output. If you notice any missing or incomplete elements, you can easily edit them before proceeding.
You have the following options:
-
Edit the template
-
Remove the template
-
See template preview & sample outputs (Sample outputs are created for the first three rows from the provided sheet)

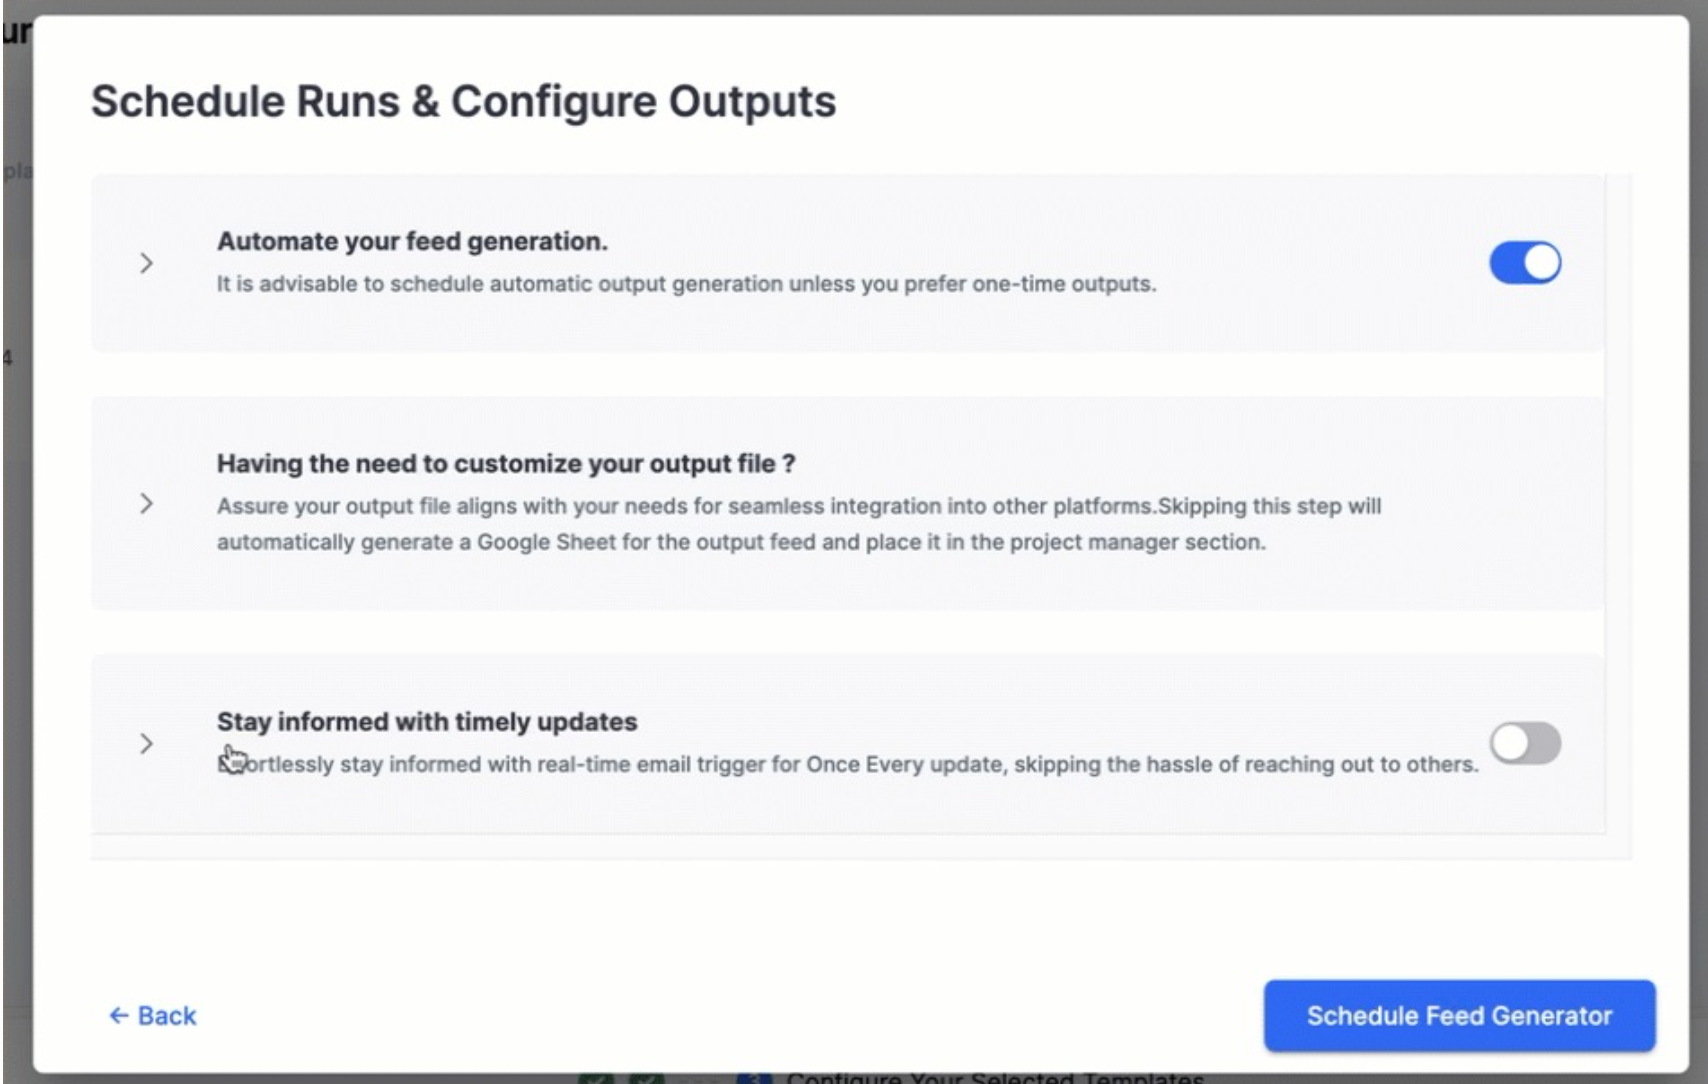
¶ Step 5: Schedule Runs & Configure Outputs
Once you have set up your templates and reviewed the sample outputs, you can schedule feed generation, configure the output file, and generate the feed.
Before you create your feed, you can do the following configurations:
-
Automate your feed generation
-
Having the need to customize your output file?
-
Stay informed with timely updates
¶ Automate your feed generation
You can schedule your projects to generate creative feed automatically. Scheduling automatic feed generation on a daily or weekly basis. This feature is ideal for e-commerce brands or businesses with frequently changing catalogs, as it ensures your Facebook Ads always reflect your latest inventory.
Set the frequency and time for the scheduled runs:
-
Enable Scheduling: Turn on the Schedule Feed Generation toggle.
-
Generate Feed: Select if you want to generate the feed daily, weekly or monthly.
-
Once Every: Select how often you want your feed to be generated in a day.
-
Set Start Date: Indicate the first date you want the scheduled feed generation to begin.
-
Select Time Zone: Ensure your updates happen at the desired time of day in your preferred time zone.

After finalizing your schedule details, you may generate output by clicking "Schedule Feed Generator" to view the project under Project Manager, or continue configuring the settings below.
¶ Having the need to customize your output file?
You can configure the following before you generate your feed:
-
Save Recommendations to Google Sheets: Instantly export your generated creatives to a designated Google Sheet for quick access and further organization. (If you skip this step, you can still access them via a default link on your Project Manager dashboard.)
-
Select Essential Columns: Choose the exact data columns you wish to include in your final output file, ensuring you only export the necessary information.
-
Customise Column Names: Use descriptive column names for optimal clarity and effortless data import into your preferred platforms.
-
Pixis Created: View columns that Pixis created for your generated feed. Here, you can also rename the columns.

¶ Output file example
As the output file has been customized, it now exclusively includes the selected columns, with the names of these columns appearing exactly as they were edited.

¶ Stay informed with timely updates
To stay updated on project activities, you have the option to set up email notifications. These notifications will be triggered whenever there are updates made to the project, such as schedule runs, feed generation, or project deletion.
¶ Directly Generate Feed
You also have the option to generate your feed directly without configuring the above options. Simply click on "Create Feed" to generate a one-time feed recommendation.

Once you have the output file, you can manually implement all the outputs into your ads manager. If you wish to make further changes to the template or generate new variations, you can simply update the input file and run or schedule the project from the Project Manager.
¶ Step 6: Project Manager
The Project Manager Dashboard provides centralised access to all created projects. You'll find the dashboard under "Explore" in the side panel. Within the dashboard, you can manage input and output files, generate feeds, schedule project runs, and perform various other actions related to your projects.

You can configure your existing projects under Quick Actions. The following are the configurations you can do:
¶ Run/Pause
You can click on Run to quickly generate one-time feed recommendations. If your project is set to generate feed at set intervals automatically, then you can click on pause to stop the following feed generation schedule.

¶ Run History
You can review past details regarding when the project was executed to generate feed recommendations. If you had chosen to remove any cells that have data that don't meet the requirements (junk outputs), you can view the number of junk outputs that were discarded.

¶ Project Settings
You have the option to rename both the project and the input file. Additionally, there is a link to access your input file. If you need to make any modifications to the input file, we suggest that you duplicate the project and then proceed to edit the project or the input file as needed.

¶ More options
-
Quick Preview: Provides a sample of how your ad creative will appear based on your current template and data selections.
-
Schedule: Allows you to set up automatic feed generation on a recurring basis (e.g., daily, weekly).
-
Edit: This button takes you back to the project's initial configuration steps, allowing you to modify input files, templates, and other settings.
-
Duplicate: Creates a copy of the current project, allowing you to make variations or experiments without altering the original.
-
Delete: Permanently remove the project.
